
This article will discuss if you can use studio monitors for a home theater setup.
Studio monitors are high-quality speakers in recording studios and other audio production environments to reproduce audio accurately with a flat frequency response and minimal distortion. Doing so allows engineers and producers to hear the most accurate representation of their recordings.
They are designed to have a neutral sound signature without artificially boosting or attenuating any frequencies and are typically used in pairs to create a stereo audio image.
On the other hand, home theatre speakers are typically designed to enhance the audio experience when watching movies or TV shows at home. They typically include a center channel speaker, front left and right speakers, rear surround speakers, and a subwoofer arranged in a 5.1 or 7.1 configuration.
They are designed to create an immersive audio experience. The center channel focuses on dialogue, the front speakers handle music and effects, and the surround speakers provide ambient sounds and effects. The subwoofer produces low-frequency sounds and adds depth to the audio. Now let’s arrive at our main question.
Can You Use Studio Monitors for a Home Theater?
Yes, studio monitors can be used for a home theater setup. Still, studio monitors will lack the artificial bass boost and theatre experience, as they have a flat frequency response and are designed for near-field monitoring. However, you can always customize their frequency response and installation locations.
Before we expand on those points, let’s discuss the differences between Pro Audio and Consumer Audio. Pro and consumer audio are two types of audio equipment designed for different applications.
As the name suggests, Pro audio equipment is designed for professional audio applications such as recording studios, concert venues, and broadcast facilities. Pro audio equipment is typically built to a higher quality standard than consumer audio equipment, with more robust construction, better components, and more advanced features.
Pro audio equipment is designed to provide accurate and transparent sound reproduction with a flat frequency response so that audio professionals can hear every detail of their recordings or performances without coloration or distortion.
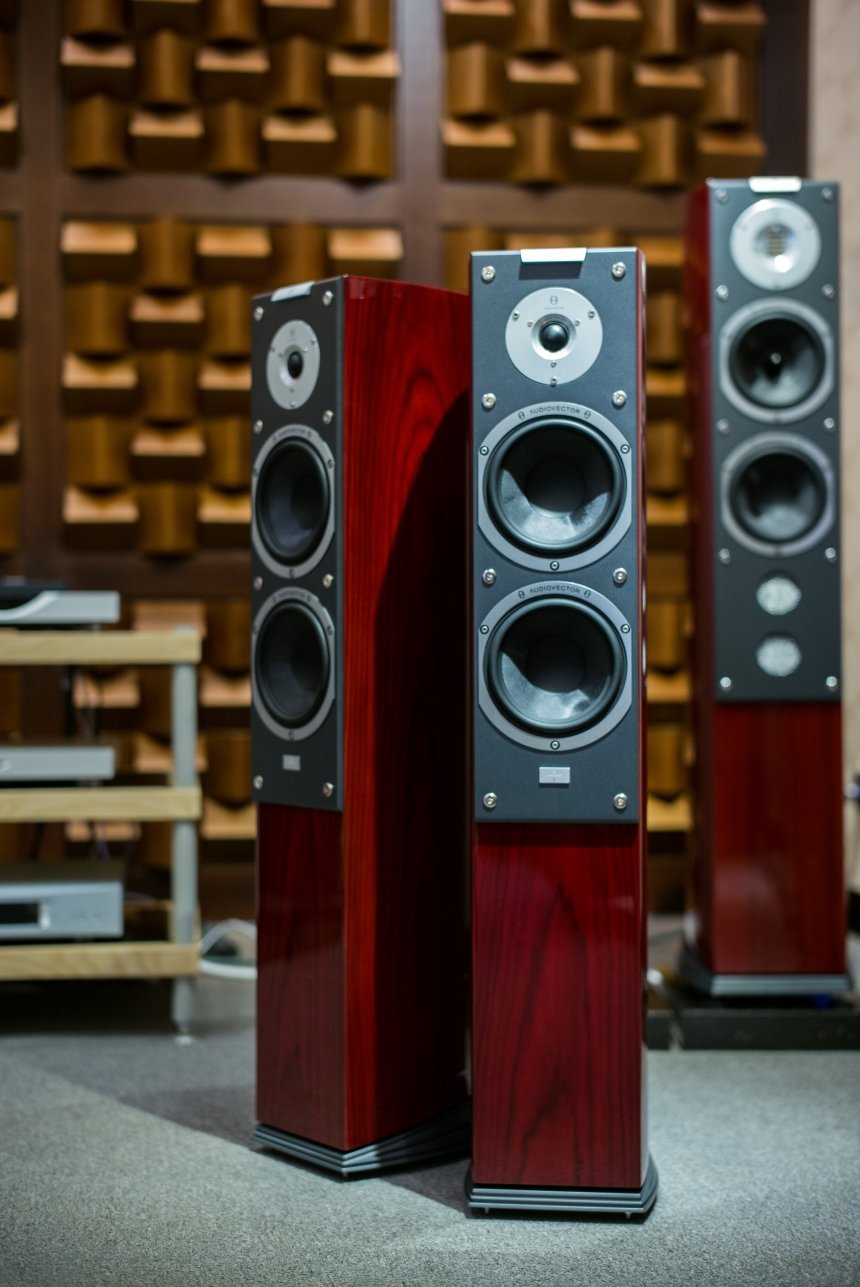
On the other hand, consumer audio equipment is designed for personal and home entertainment use. It is typically more affordable and simpler to operate than pro audio equipment and often includes features like wireless connectivity, voice control, and built-in amplifiers. Consumer audio equipment is designed to provide a pleasant listening experience rather than accurate sound reproduction.
One of the key differences between pro and consumer audio equipment is how the audio is processed. Pro audio equipment is designed to handle audio signals with high headroom, meaning it can handle high volumes without distortion. In contrast, consumer audio equipment is often designed to artificially enhance the audio to create a more pleasing sound, often at the expense of accuracy.
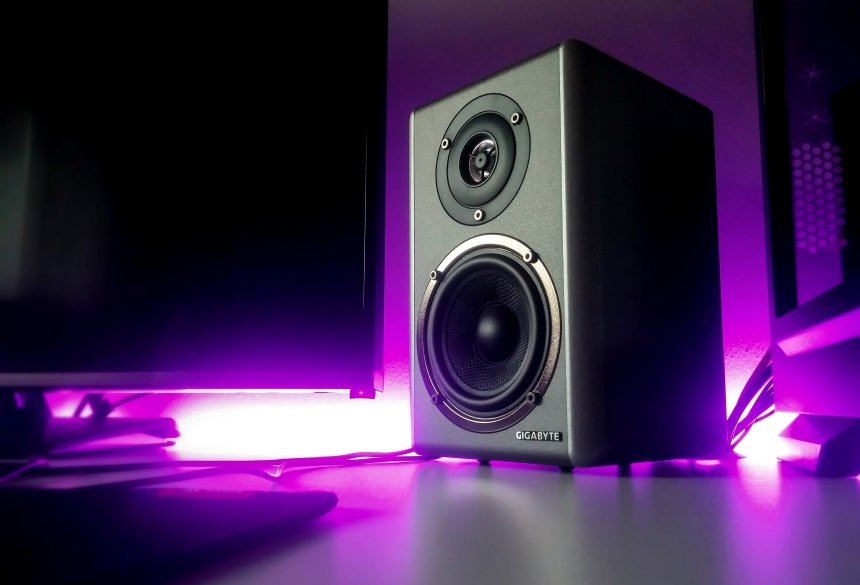
Next, studio monitors are designed to reproduce audio with a flat frequency response, which means they are not artificially tuned to boost bass or treble frequencies. That is great for accurate sound reproduction, but it may not be ideal for a home theater setup where many enjoy a more bass-heavy and dynamic sound.
Additionally, people typically buy studio monitors as individual speakers, so you must purchase multiple units to create a full surround sound setup. Doing so can be more expensive than purchasing a home theater speaker set.
Finally, studio monitors are often designed for near-field listening, which means they are optimized for use at close distances. In a larger home theater room, you may need to position the studio monitors further apart and adjust the volume to achieve the desired sound level.
How to use Studio Monitors for a Home Theater?
If you decide to use studio monitors for your home theater, here is a more detailed guide on how to set them up:
- Determine the number and type of studio monitors you need
Studio monitors are typically sold as individual speakers, so you must purchase multiple units to create a full surround sound setup. Determine the number of speakers you’ll need, including front left and right, center, and surround speakers, and choose the appropriate size and type for your room size and personal preferences.
Secondly, you can choose between active and passive speakers. Passive speakers are speakers that require an external amplifier to produce sound. They do not have a built-in amplifier and rely on an external power source. On the other hand, active speakers have a built-in amplifier and can produce sound without needing an external amplifier.
Active speakers are often more convenient for those who want a simple setup, as they do not require separate components for amplification. However, passive speakers can offer more flexibility in terms of customization and may provide higher sound quality when paired with a high-quality amplifier.
Lastly, it’s important to note that most studio monitors are active speakers.
- Choose an amplifier or sound receiver.
If you use passive studio monitors, you may require an external amplifier or receiver to power them; you can choose a separate power amplifier or an integrated amplifier with a built-in preamp and volume control. Choose an amplifier compatible with your studio monitors’ impedance and power requirements.
However, you can use a sound receiver to drive more power if you have active speakers. Sound receivers can be used with active speakers to provide additional features and connectivity options. A sound receiver is essentially a device that acts as a hub for all of your audio sources, such as a TV, Blu-ray player, gaming console, or music player.
The sound receiver takes the audio signals from these sources and processes them before sending them to your active speakers. When choosing a sound receiver for your active speakers, it’s important to look for one that has the features and connectivity options that you need.
For example, some sound receivers may have built-in Wi-Fi and Bluetooth connectivity, allowing you to stream music easily from your phone or tablet. Others may have multiple HDMI inputs, allowing you to connect multiple sources at once.
It’s also important to consider the power output of the sound receiver. While active speakers have built-in amplifiers, they may still benefit from a more powerful external amplifier. So look for a sound receiver with enough power to drive your active speakers to their full potential without overloading or distorting the signal.
- Position the studio monitors.
The placement of your studio monitors is critical to achieving optimal sound quality. The front left and right speakers should be placed on either side of your TV or projection screen at ear level when seated. The center speaker should be placed directly above or below the TV or screen at the listener’s ear level. The surround speakers should be placed to the left and right of the listening area, at ear level or slightly above.
- Adjust the sound settings.
Studio monitors are designed for accurate sound reproduction, so you may need to adjust the EQ settings on your amplifier or receiver to get the desired sound. You can adjust the volume, balance, and other settings to get the right balance and clarity.
- Calibrate the system
Before discussing system calibration, let’s talk about SPL (Sound Pressure Level) balancing, which is adjusting the volume levels of different audio sources or speakers to ensure they all output the same sound pressure level. That is important for achieving a balanced and consistent sound throughout a room or system.
To balance the SPL of your speakers, you can use a sound level meter to measure the sound pressure level at a specific listening position. Start by playing a test tone (pink/white noise) or music through each speaker, and adjust the volume levels until they are all outputting the same SPL at the listening position.
It’s important to note that SPL balancing is not the same as adjusting the volume levels to make the speakers sound the same. Each speaker has unique sound characteristics may require different volume levels to achieve the desired balance. Therefore, it’s important to listen to each speaker’s sound quality and measure the SPL levels.
You may need to calibrate your studio monitors using a sound level meter or other tools to achieve optimal sound quality. You can adjust the speaker placement, volume, and other settings to achieve a balanced and accurate soundstage.
Additionally, it’s important to consider the size and layout of the room when balancing SPL. Some areas of the room may naturally have higher or lower sound levels, so you may need to adjust the speaker placement or add acoustic treatments to achieve a more even SPL balance.
- Room treatment
This step may not be necessary, but if you want a perfect home theatre experience, you can go for it. Here are some tips on how to treat your room for optimal sound quality.
First, choose the right room for your home theater setup. Ideally, you should choose an acoustically neutral room with a low-noise floor. Avoid rooms with hard surfaces like tile or concrete, as these can cause sound reflections and echoes. Choose a room with soft furnishings like carpeting or curtains to help absorb sound if possible.
Next, use acoustic panels to absorb unwanted sound reflections and echoes. Acoustic panels are an effective way to improve the acoustics of your room. You can place these panels on the walls and ceiling of your room, especially in areas where sound is likely to bounce around. Consider the placement of your studio monitors and strategically place the panels around the room to reduce unwanted sound reflections.
For placing these panels, you can also refer to the mirror technique.
In addition to acoustic panels, you can also use bass traps to absorb low-frequency sound. Bass traps are especially important in smaller rooms, where low-frequency sound waves can build up and cause distortion. You can place bass traps in the corners of your room to help absorb unwanted bass frequencies.
Finally, make sure to position your studio monitors properly. The position of your studio monitors is critical to achieving optimal sound quality. When seated, placing the front left and right speakers on either side of your TV or the projection screen at ear level would be best.
The center speaker should be placed directly above or below the TV or screen at the listener’s ear level. You can place the surround speakers to the left and right of the listening area, at ear level or slightly above if you are following the 2.1 monitoring protocol.
Otherwise, if you are going for the 5.1 or 7.1 monitoring system, refer to the NARAS Recommendations for Surround Sound Production or a consumer surround sound guide. Adjust the volume and EQ settings to achieve a balanced and accurate soundstage. Following these tips, you can treat your room and use studio monitors for a home theater setup with optimal sound quality.
Conclusion
Studio monitors are high-quality speakers for accurate audio reproduction in recording studios and other audio production environments. In contrast, home theater speakers are designed to create an immersive audio experience in a 5.1 or 7.1 configuration.
While studio monitors can be used for a home theater setup, they lack the artificial bass boost and theater experience that some people prefer. Additionally, studio monitors must be purchased individually, which can be more expensive than purchasing a complete home theater speaker set.
If you decide to use studio monitors, you must determine the number and type of speakers you need, choose an amplifier, position the speakers correctly, adjust the sound settings, and calibrate the system. Lastly, room treatment can also be done for optimal sound quality. I hope the article was of help. Thank you for reading.

The Integraudio Editorial Team consists of experienced music producers, audio engineers, and plugin enthusiasts dedicated to providing in-depth reviews and guides for music production software.