This guide will discuss installing Native Instruments content on an external disk.
To install Native Instruments content on an external drive, download the Native Access, login/sign up on it, go to Preference > File Management, and set the download, application, content, and plugin locations as desired, which in this case, you can select to the external drive.
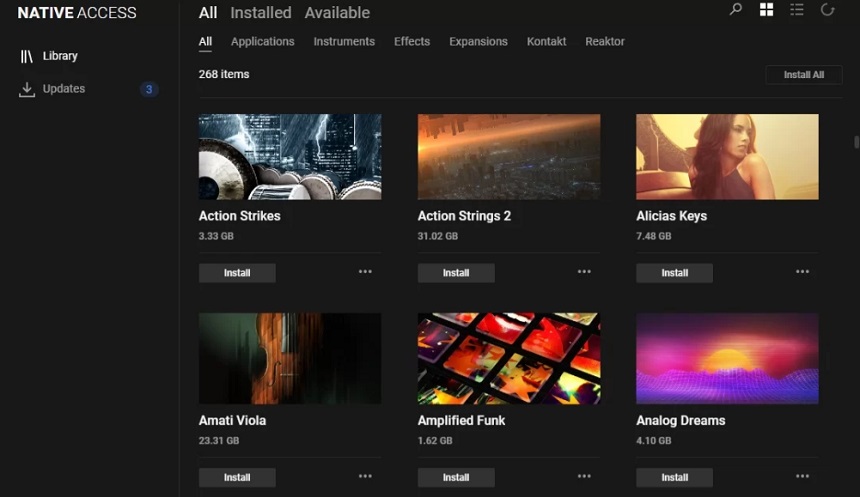
Native Access is helpful for anyone using Native Instruments software products. Its easy-to-use interface and convenient features simplify the process of managing and updating your software, allowing you to focus on making music. Let’s look at all the steps elaborately.
One of the critical features of Native Access is its ability to keep all of your Native Instruments software up-to-date. The application regularly checks for updates and notifies you when new versions are available. This ensures you always have the latest features and bug fixes for your software products.
Another benefit of using Native Access is that it provides a centralized location for managing your Native Instruments software licenses. This makes it easier to track which products you own and ensures that you have quick and easy access to the products you need. Now, look at a step-by-step guide to installing Native Instruments content on an external drive.
- Step 1:
Go to Native Instruments Center and find “Native Access download and activation tool.” Here, click on “Download for Mac Intel/Windows/Mac M1,” based on your operating system. By following this, you can download the Native Access application on your system.

- Step 2:
Open the application, log in, or sign up on it. When you’re logged into the app, click on “Preferences” (settings icon), located at the bottom left of the application’s interface. A “Preferences” window will pop up when you click on it.

- Step 3:
In the Preferences window, click on “File Management,” and then click on “Browse” next to “Content-Location.”

- Step 4:
Select your external drive as the content location, given it’s connected to your system. Click the “select folder” button, and the job is done.

You can use the same method to move Kontakt libraries, Massive wavetables, or any other Native Instruments content. In addition, you can also change the location of your downloads, applications, and VSTs.
How do I change the content location in Native Instruments?
To change the content location in Native Instruments, you need to launch the Native Access application, log in to it or sign up on it, click the “Preference” button, and choose File Management. Select “Browse” next to “Content-Location,” and select your desired location.
Just follow the steps explained above, except in the final step, select any desired location you wish to install your content on instead of choosing the Drive.
Should I install Native Instruments Content on an external drive?
Whether you should install Native Instruments content on an external drive depends on various factors. On the one hand, installing content on an external drive can free up space on your internal hard drive, which can be particularly useful if you have limited storage.
This can also make it easier to access your content across multiple computers, as you can connect the external drive to any computer and access all of your Native Instruments content. On the other hand, accessing data on an external drive can be slower than accessing it from an internal drive, particularly if the external drive is connected via a slow connection (such as USB 2.0).
Additionally, using an external drive increases the risk of data loss or corruption if the drive fails or becomes damaged. Before making a decision, consider factors such as the amount of storage you have on your internal drive, the speed of your external drive, and your overall workflow to determine which option is best for you.
Lastly, consider using an SSD instead of an HDD for more efficient and faster use and communication. An external SSD (Solid State Drive) offers faster read and write speeds than an HDD (Hard Disk Drive). This can result in smoother performance and reduced loading times when using the software and accessing the content.
An external SSD is a good choice if you prioritize speed and smooth operation. On the other hand, an external HDD is generally more affordable and offers more storage space. If you have a lot of content and need to store it all, an external HDD may be your better choice. Additionally, if you don’t require top-notch performance and loading times, an external HDD should still suffice.
Conclusion
In conclusion, Native Instruments is a well-established music technology company known for its innovative software and hardware products. The company offers a central management application, Native Access, which makes it easy for users to manage, install and update their Native Instruments software.
With Native Access, users can also change the content location of their software and move it to an external drive if desired. Changing the content location is straightforward and involves launching Native Access, navigating to the “File Management” section, and selecting the desired location.
With Native Access, music professionals can keep their software up-to-date and efficiently manage their licenses, freeing them up to focus on making music. I hope the article was of help. Thank you for reading.

The Integraudio Editorial Team consists of experienced music producers, audio engineers, and plugin enthusiasts dedicated to providing in-depth reviews and guides for music production software.